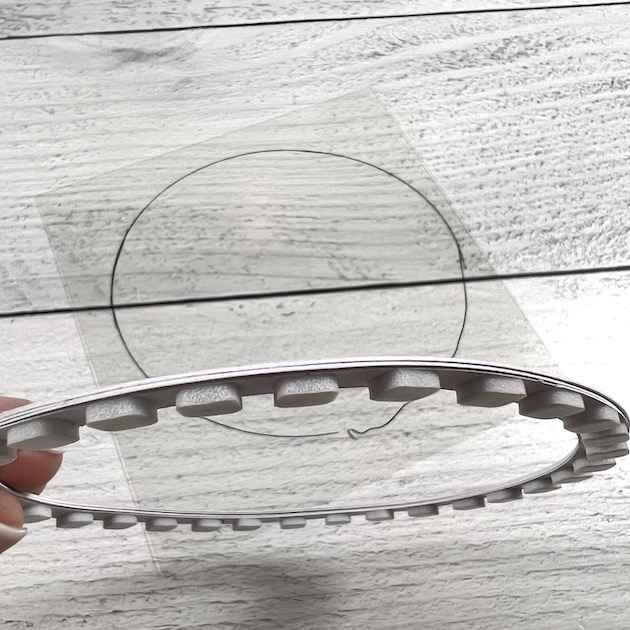
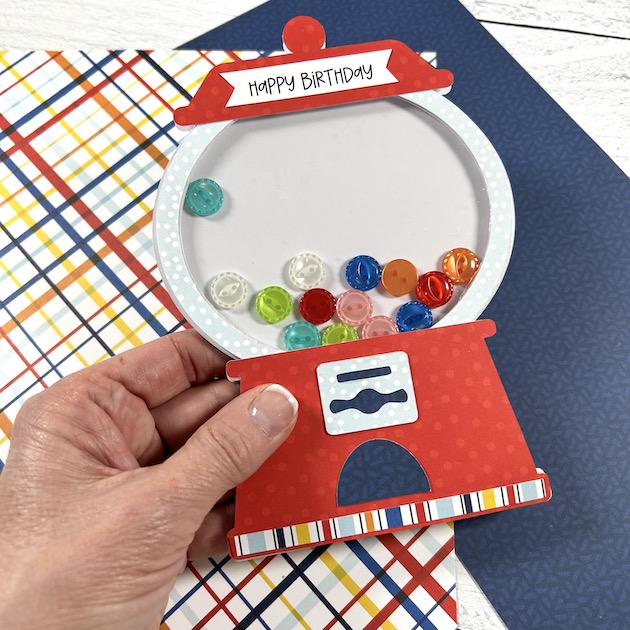
First, I cut out all of the pieces as they were in Lori's file. Then, I used the shape tool to create an oval. I hovered the oval over the gum ball machine to get the right size, and then I did an offset of the oval to create a frame.
Once I had my frame shape, I cut it out 5 times from white card stock, and once from the light blue dot paper (product link below). The 5 layers of white card stock ovals will give the frame thickness and dimension so that the buttons can move freely underneath.
I layered the five card stock ovals, added small foam adhesive as shown, and traced the shape on to a piece of clear acetate. Clearly you don't need to be accurate about this because you're going to use scissors to cut inside the lines in order for your acetate to sit within the border of the oval frame. I used a thin line of liquid glue to adhere the acetate to the top of my white oval frame.
I adhered the light blue dot oval over the acetate and then adhered everything together. I layered the folded white card base, then the plain white template, placed the buttons on the template, then added the oval over the template/buttons.
Finally, I added the red top and bottom pieces (product links below) with more foam tape and finished the card with the sentiment and remaining cut file pieces. The stripe is just a piece of scrap cut to 1/4" thick to add along the bottom if desired.
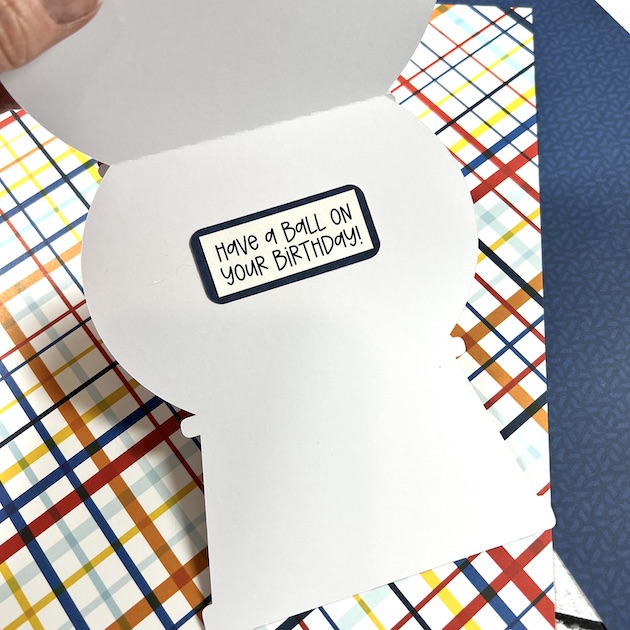
Inside, the finishing touch was a cute little phrase that comes with the cutting file.
Thanks for stopping by Lori's blog today! I hope this card will inspire you to think outside the box and create something fun with Lori's wonderful cutting files! Until next time, happy crafting my friends!


No comments:
Post a Comment