Monday, February 19, 2018

I AM Scrapbook Album about You, Simple Stories


Hi Everyone! A new album dedicated to your own personal journey. Document YOU for a change! This album is all about you ... and I hope that every time you see it, you are reminded that you are special!


This beautiful scrapbook mini album will be a wonderful keepsake full of reminders that you are "strong", "beautiful", "thankful", "happy", "living the dream", "blessed"...."enough"! The kit comes with lots of phrase stickers so that you can personalize your album with the perfect words that represent you and your personal journey.

Give it as a gift to your daughter, mother, friend, or sister to remind them of how special they are ... or fill it with all of the memories of your own life.

The album measures 6x8 inches and includes 36 pages (18 front and back). There is space for at least 50 photos and lots of encouraging reminders! Beautiful colors, interactive elements, chipboard accents, and lots of positive encouragement!


As always, thank you so much for visiting my shop


My goal is to create scrapbooks, memory albums, and kits that encourage people to share their stories, preserve their photos, and document their everyday lives.

Saturday, February 17, 2018

Waterfall Love Album Tutorial

Hi guys, I'm so excited to show off an adorable new style of album I made! I'm calling this a waterfall folio album and it's loaded with paper and Chit Chat pieces from Doodlebug's So Punny collection. Wouldn't this be perfect for your Valentine's Day photos?! 💗 Below is a tutorial with measurements & product links so you can make one yourself. You can do this!  

I love this waterfall element. You can add a bunch of pictures and it shows off so many really cute papers. It's also a lot of fun to flip through and I think is ah-dorable!

 
When folded the album looks like this. And yes, I love those XOXOs Chit Chat pieces so much that I bought several packages so that I could have 5 on the cover, LOL!
 

Here are a few of the waterfall flip pages ... 

 
I love those little sprinkles "BEARY" much!


Here are some basic instructions for making a folio album like this. For simplicity, I didn't include directions for placement of each pattern paper or embellishment. That's where you can add your creative touch, but all of the measurements are included :)  Have fun!

XOXO Waterfall Folio Tutorial

12x12 Black card stock:
  1. Cut black card stock to 9” x 12”.
  2. Position card stock on your score board so that the 12” width is at the top.
  3. Score the card stock across left to right at .5”, 5.5”, 6.5” and 11.5”.
  4. Turn the paper 1/4 turn to the left and score at .5” and 8.5”.
  5. Trim out the corners as shown below.
12x12 Medium Weight Chipboard:
  1. Cut chipboard into 3 pieces — 8” x 4 3/4” (2), and 8”x 1”.
  2. Adhere the chipboard pieces to the black card stock as shown.  Be sure to leave some space between each piece so that the album cover will fold properly.
  3. Adhere the folds of the black card stock down on the chipboard.


12x12 Black Card stock:
  1. Cut black card stock to 10 3/4” x  7 3/4”.
  2. Adhere this piece over the chipboard on the inside of your album cover, making sure to crease the card stock so that it folds at the spine.

12x12 Yellow Heart Side of the Waffley Cute paper:
  1. Cut the yellow paper for the inside cover — 4 5/8” x 7 3/4” (2), and 1” x 7 3/4”.
  2. Adhere them inside the cover as shown.

12x12 I’m Daisy About You paper / 12x12 Black Card Stock / Ribbon:
  1. Cut the blue paper for the outside cover — 4 5/8” x 7 3/4” (2).
  2. Cut another piece of blue paper to 4” x 4 1/4”.  Set aside.
  3. Adhere the blue paper to the outside cover as shown.
  4. Adhere three 20” pieces of ribbon across the center of the cover.
  5. Cut black card stock — 4 1/4” x 7 1/2” (2)
  6. Adhere the black card stock over the blue pattern and ribbon as shown.

12x12 Plaid About You paper:
  1. Cut plaid paper — 4” x 7 1/4” (2)
  2. Adhere the plaid paper to the center of the black card stock.
    Cut Black Card stock:
    1. 4” x 7 1/2” — base of waterfall
    2. 3 1/2” x 5” (2) — photo mats in pocket
    3. 4” x 4 1/2” (7) scored at 1/2” to create seven 4x4 squares.
    4. 4 1/4” x 4 1/2” — pocket (see next set of instructions to complete pocket)
    Create the Pocket:
    1. To trim the corner of the black card stock for the pocket, measure 3/4″ over from the left hand top edge and make a mark.  
    2. From the right hand bottom edge, measure up 3/4″ and make a mark.  
    3. Draw a line from mark to mark and cut off the corner piece. 
    4. Locate the blue paper you set aside earlier.  Lay the blue side up and match the long and short sides of the blue sheet, with the long and short sides of the black pocket piece.  
    5. Once you are sure you have the correct sides matched up, measure 1/2″ over from the left hand top edge and make a mark.  From the right hand bottom edge, measure up 1/2″ and make a mark.
    6. Draw a line from mark to mark and cut off the corner piece.  Adhere the black and blue pieces together.
    7. Adhere the pocket to the inside left panel of your album ... be sure to put adhesive on the left and bottom sides only so that your photo mats will slide behind.
    Pocket Pieces:
     

    Assemble the Waterfall pieces:
    1. Apply glue to the scored and folded tab of each 4x4 square.  Adhere the first “tab” along the top edge of the waterfall base.
    2. Adhere the second square by lining the “tab” up along the bottom edge of the previous tab. Be sure not to overlap the edge of the previous square.  See arrow.  
    3. Adhere the waterfall element to the inside right panel of your album.

    6x6 So Punny Paper Pad:
    1. Cut pattern paper for each of the squares — 3 3/4” x 3 3/4” (15)
    2. Cut pattern paper for the spaces in between the squares — 3/8” x 3 3/4” (7)
    3. Cut pattern paper for the mats that are tucked into the pocket — 3 1/4” x 4 3/4” (2)


    I hope these measurements and basic instructions help you to create this cute mini! Have fun mixing and matching papers and embellishments ... that's always my favorite part!

    Until next time ... happy crafting!


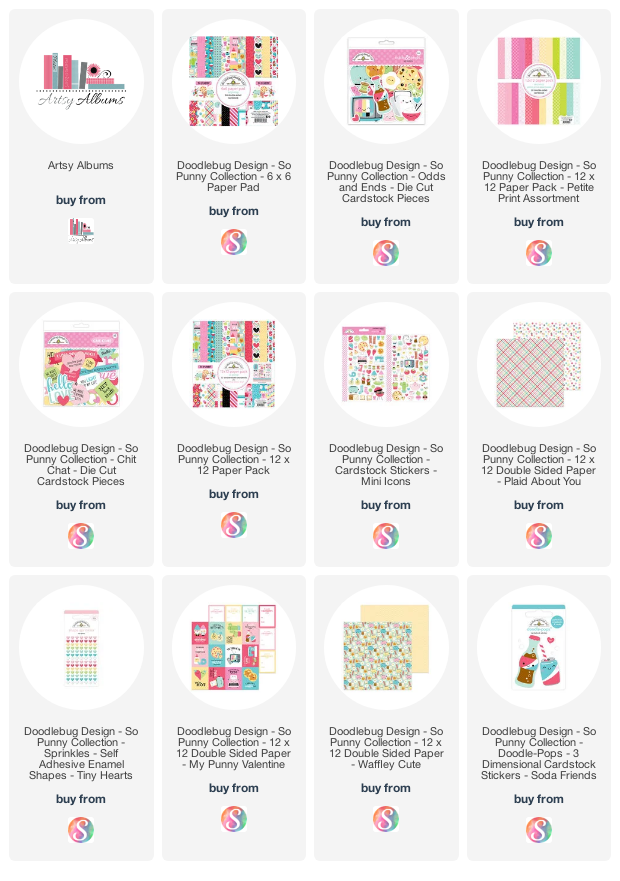
    Update: This Doodlebug So Punny collection can also be found at Starlit Studios HERE.  I have added a few links for it below and some to similar products that would make a great substitution.

    Supplies: Affiliate links are used in this post at no additional cost to you. I receive a small amount of compensation when you click through and shop using the provided links. This helps me to continue building my small business. Thank you!

    Tuesday, February 13, 2018

    Valentine Waffle Card - Lori Whitlock February Blog Hop


    Welcome to Lori Whitlock's February Blog Hop! My blog is the first stop on the hop, so be sure to hop back over to Lori's site too, because she has some goodies for you ... a sale, a giveaway, and a cute freebie!

    For my project, I created one of Lori's new folding cards for Valentine's Day called
    Pop Up Box Card Valentine Waffle Card (cutting file link below).  I just love these waffles and the cute little sentiment!

     
    This would be so cute for your sweetheart, the kids or anyone who loves really waffles! That would definitely be me. 😍
     
    Thank you so much for hopping with us!! A link for Lori's cutting file is below. Have a great day!

    Your next stop on the hop is


    Sunday, February 4, 2018

    Our Love Story Album using Simple Stories Romance

    As papercrafters, sometimes a paper collection comes along that makes you immediately think of a set of photos, an event, or a memory.  When I saw the Romance collection, I knew some beautiful pictures of my son and daughter-in-law would work perfectly in an album.
    I love the vintage, romantic feel of this paper line.  The cover was easy to embellish by layering several 3x4 cards.

    These gorgeous photos were taken by Hillary Leah Photography here in Georgia, and I just love that the pictures worked so well with the beautiful blues and pinks in Romance.  

    I used the 12x12 collection kit, along with the chipboard pieces and  4x6 stickers.


    I hope I've inspired you to use Romance for lots of different projects, not just Valentine's Day.  It is so pretty for weddings, date nights, everyday family photos, or even baby pictures!  Enjoy!