This is a 12x12 display. I started with a piece of white card stock and layered the following pieces on top: (some product links below)
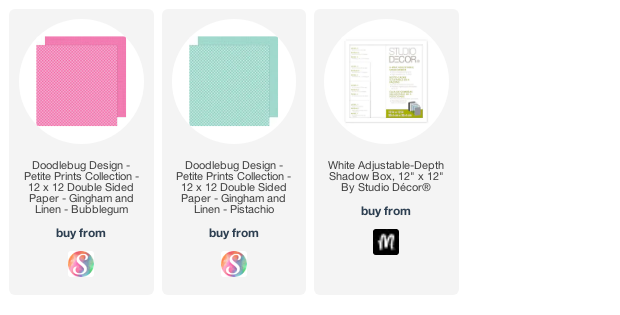
Pistachio Gingham Prints 11 3/4" x 11 3/4" (product link below)
Spring-A-Ling double-sided card stock 11 1/2" x 11 1/2"
Bubblegum Gingham Prints (product link below) -- cut on my CAMEO machine. (This is an offset of the cutting file).
White card stock -- cut on my CAMEO machine. Link Square Lace Background 11" square
May Flowers Dot paper -- cut into 2" squares and adhered behind each square.
I adhered everything to a piece of 12x12 corrugated cardboard cut from a packing box.
Once I pushed each pin through the paper and card board, I attached the pin's original card with the pin backing. This is so I can remember the names, but also so that I don't lose the original card.
I added my display to a white 12x12 shadowbox frame (link below). I used this one because it has adjustable inserts to change depth as needed.
I went ahead and made two more frames for my room because I know I'll be adding more pins to my collection.
Thanks for checking out my project today! Be sure to check back next week, when the team will have more project ideas for these adorable collectible pins!
Blog * Shop * Facebook * Instagram * Pinterest


Super cute!! I have been wondering how to display my pins more beautifully, and this is a great way. Looks wonderful!
ReplyDeleteI love this idea...what cute file did you use
ReplyDelete