Wednesday, February 22, 2017

Easter Express Scrapbook Album with Doodlebug

Happy Wednesday Doodlebug friends! Today, I'm sharing a new mini album I made with the adorable Easter Express collection. I'm so excited about these pretty colors, patterns, and odds & ends. They're so cute! You're going to have so much fun creating with it!  

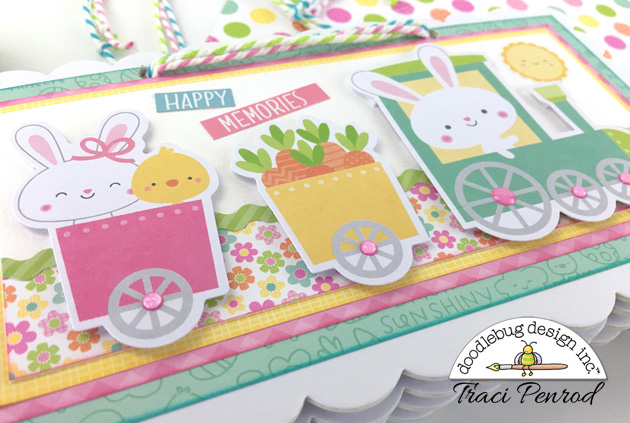
Easter Express Scrapbook Album with a train, flowers, bunny rabbits, & chicks

I cut my album out of white chipboard using the Sizzix die called Scallop Rectangle #2 and covered each page with papers from the Easter Express collection. I also used a few of the gingham/linen prints.

Easter Express Scrapbook Album with a train, flowers, bunny rabbits, & chicks

I used glitter sprinkles throughout the album. Love! I can't get enough of these!! 

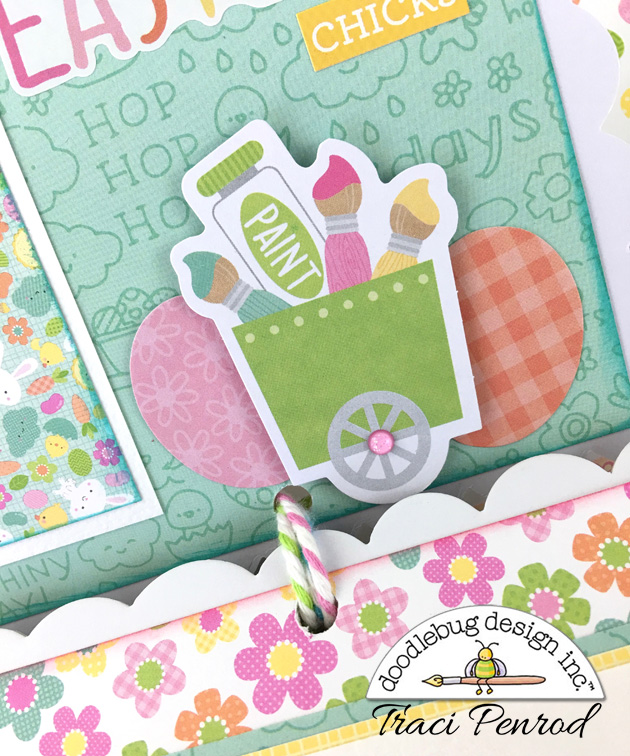
Easter Express Scrapbook Album with chicks, flowers, eggs, & paint brushes

The "Easter" title came from the brand new mini icon stickers, and the die cuts are from the Odds and Ends package.  Isn't that little paint brush the cutest?

Easter Express Scrapbook Album with flowers, eggs, & paint brushes

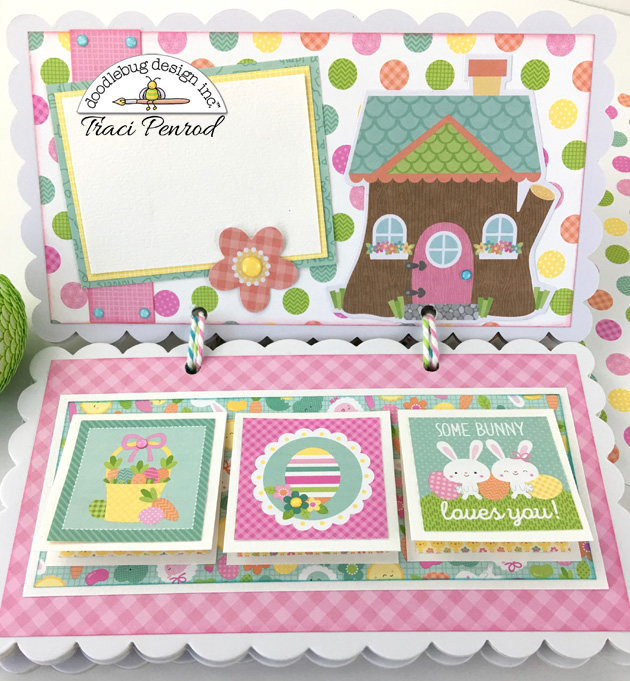
Easter Express Scrapbook Album with rabbits, treehouse, eggs, & flowers

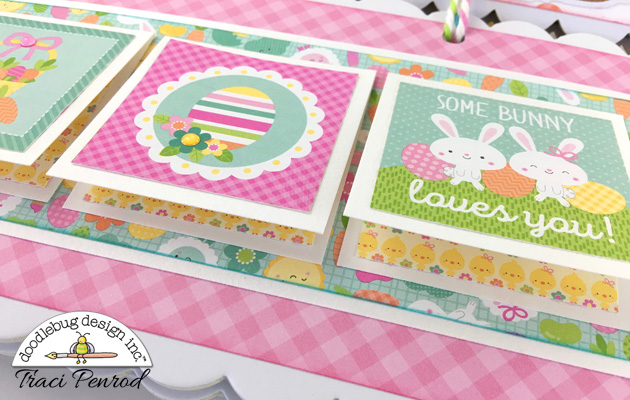
I also incorporated pieces from the 6x6 paper pad into my album.  I love the smaller prints for mini albums and the little 2x2 cards are perfect for the front of my little flip-up photo cards.

Easter Express Scrapbook Album with rabbits, eggs, & flowers

Easter Express Scrapbook Album with bunny rabbits, train, & eggs

I wanted to hoard this little Bunny Train Doodle-pops, but it looked so cute on the page I decided to use him.  

Well that's it for me today. I hope you have a wonderful week!

Blog * Shop * Facebook * Instagram * Pinterest

Tuesday, February 14, 2017

Valentine Typewriter Card with Lori Whitlock

Happy Valentine's Day everyone! 

I'm hopping over at Lori Whitlock with her design team today! We have lots of fun projects to share with you so if you just stopped by, be sure to start the hop at Lori's site so that you don't miss any of the awesome projects the creative team has to share with you!

If you need a quick little last minute gift today, here's a
sweet little card and gift box.  


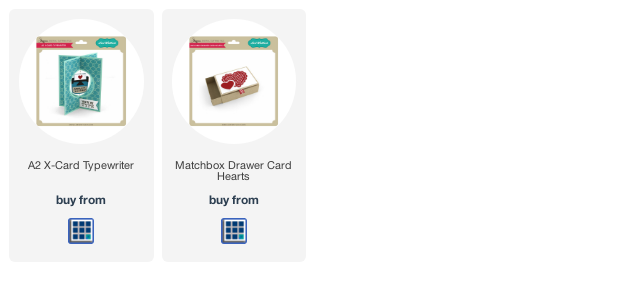
I love how the typewriter hangs inside the card ... and Lori has other styles of this card available in her shop and the Silhouette online store also. 

For the box, I tucked candy inside and added a gift card under the flap of the card. Lori has lots of styles for this cute box too!! 

I've added links down below for Lori's cutting files. Have fun and happy scrappin'!

Here is your blog hop order ... your next stop is Kathy Skou!

Corri Garza 
Traci Penrod .. you are here
KATHY SKOU .. your next stop
Courtney Lee 
Anita MulCahey
Tya Smith


Saturday, February 11, 2017

School Days Mini Album Kit, Photo Play

This school scrapbook album is available as a DIY kit or pre-made and will make a wonderful keepsake for school memories! The 6x8 inch album is perfect for school photos and memorabilia from Preschool-Senior Year!

The album starts with a "first day" page and the 16 pages include 3 pockets for memorabilia, report cards, awards or extra photos and 2 fold-out pages for extra space.There are also 9 double-sided divided photo sleeves for extra photos.


Fun colors, titles and phrases, and lots of space for photos, report cards, and other mementos -- these are just a few of the things that adorn the pages of this fun school memory album. The chipboard album is covered with school themed paper and accents from PhotoPlay. The pages include photo mats, stickers, and fold-out cards.

I always create my albums so that photos can easily tuck under embellishments, and I always use only acid-free, photo-safe supplies. The title on the cover is "School Days" but it can also be personalized with the student's name, depending on length and letters. Just leave me a comment during the checkout process letting me know if you want a name added to the cover. If you order the kit, you will have alpha stickers in the kit to personalize the album.

Follow Artsy Albums on Facebook at https://www.facebook.com/artsyalbums to stay up-to-date on all of our new albums and kits.

As always, thank you so much for visiting my shop! My goal is to create scrapbooks, memory albums, and kits that encourage people to share their stories, preserve their photos, and document their everyday lives.

Thursday, February 9, 2017

Doodlebug Spring Things Acrylic Mini Album

Hi friends! ....  I'm back to share a new Doodlebug Spring Things mini album with you.  With their spring collection, Doodlebug introduced awesome new clear acetate die cuts in the Odd and Ends package.  I fell in love with these and was inspired to create an entire "clear" album.


I've created a short video for you, so that you can really see the acrylic pages and how the elements are layered.  Ignore my videography skills ... this is a new thing for me :)


I know you will love the new clear die-cuts and the entire Spring Things collection from Doodlebug!  Oh, and here's a tip -- be sure to peel off the thin plastic coating from the top of each clear die-cut.  I did this easily with a craft knife. Happy crafting!! 

Thursday, February 2, 2017

Doodlebug Cream & Sugar Sweet Jar and Card

Hi everyone! I'm excited to share my latest Doodlebug Design Team project and the tutorial with you! It's a really cute candy jar that makes a great gift for friends, teachers, or co-workers! I'll also show you how to make the layered title piece using Silhouette software. So ... let's get started!


Layered Title Tutorial:

Step 1:  Use the text tool to type "Thanks for" and "being so" above the SWEET cut file.  If you type them on separate lines, you can move them around to fit the way you want.

 
Step 2:  Position the KISSES cut file next to the title.  You can rotate the shape slightly if needed by highlighting the shape and using the green circle cursor.
 

Step 3:  Group all of the pieces together. 
 
 
Step 4:  Now create an offset.  This will be the white base that you layer all of the pieces on. 
  

Step 5:  Once you create the offset shape, move it off to another area of the mat and right-click to hit 'release compound path'.  This will separate all of those tiny pieces in the center of the shape so that you can delete them.
 

Step 6:  Move the outer shape away from the tiny pieces. Highlight the little bits and delete them.


Step 7:  Create another offset shape of the white background so that you can cut the bottom layer out of grey card stock.
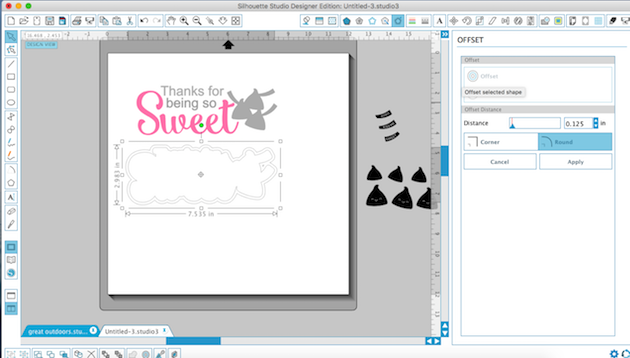
 

Step 8:  Now that you have your base white background layer, go back to the title, ungroup it, and move the SWEET and KISSES off to the side.  Make sure the "Thanks for being so" is set to NO CUT and position your white background layer over them.  Use the Silhouette software to do a Print and Cut of the shape.  You will also want to Print and Cut the little tags for the candy. (Make sure the words on the tags are also set to NO CUT)
 

Once you cut all of the piece out, you should have a base grey layer, a white layer, the SWEET title, the KISSES shape, the tags for the candy and the layers for the candy.

For the jar lid, I used the Cream and Sugar Borders cut file and resized the pieces to make the strips approximately 4.5" in length.  I cut several of the strips out of white card stock and cut a bunch of the little layering pieces out of Cream and Sugar 6x6 paper. I adhered them around the sides of the lid and then topped the lid with a simple scallop circle punch (I didn't use the round metal top in the lid, only the side piece).  Finally I adhered Doodlebug pixie sticks to the back of the title piece and poked holes in my scallop top to hold the title in place.


For the card, I cut the LOVE YOU title at the bottom of a 4" x 5.25" piece of Cream and Sugar pattern paper.  I adhered this to a white card base and then layered on the HEART and POLAROID frame cut files and a little 2x2 image from 6x6 pattern paper.

Here are the Doodlebug Pixie Sticks and the links to some of the Doodlebug goodies I used for these projects:

Supplies: Affiliate links are used in this post at no additional cost to you. (loriwhitlock.com is not an affiliate link.) I receive a small amount of compensation when you click through and shop using the provided links. This helps me to continue building my small business. Thank you!
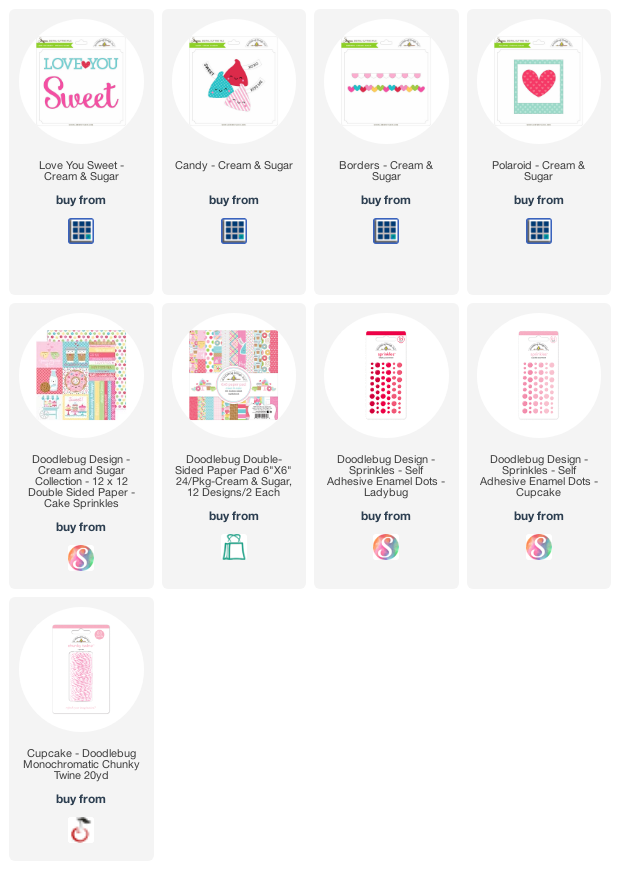
Thank you so much for checking out this project today!  Be sure to check out all of the cute Cream and Sugar cut files available in the Silhouette Online Store and in Lori Whitlock's SVG shop.


Wednesday, February 1, 2017

3 Baby Boy Cards with Doodlebug

Hi everyone! Today, I'm sharing a few super cute baby cards that I created using cutting files from the Doodlebug Snips and Snails collection (links below). These can be made with any paper collection and in any color so ... they can be customized to suit your needs!   
 
Baby boy handmade cards with giraffe, elelphant, car, and boats

I used a bunch of different 6x6 papers - solids and patterns from the gingham petite prints and swiss dot paper packs. Then I found a few goodies from my stash that were perfect like, that sweet raccoon from the Forest Friends Doodle-pops and the button tires from Doodlebug's Boutique buttons. I also added a bit Doodle twine in swimming pool for a little extra detail. Cute, right?


For the car, I duplicated and vertically flipped the base car image, and then welded the two pieces together to create a card.

Below are some of the product links that I used for these cards.
The cut files are available in the Lori Whitlock SVG Shop and the Silhouette Design Store. I hope they inspire you to make your own handmade greeting cards. Happy scrappin!

Supplies: Affiliate links are used in this post at no additional cost to you. (loriwhitlock.com is not an affiliate.) I receive a small amount of compensation when you click through and shop using the provided links. This helps me to continue building my small business. Thank you!

Blog * Facebook * Instagram * Pinterest