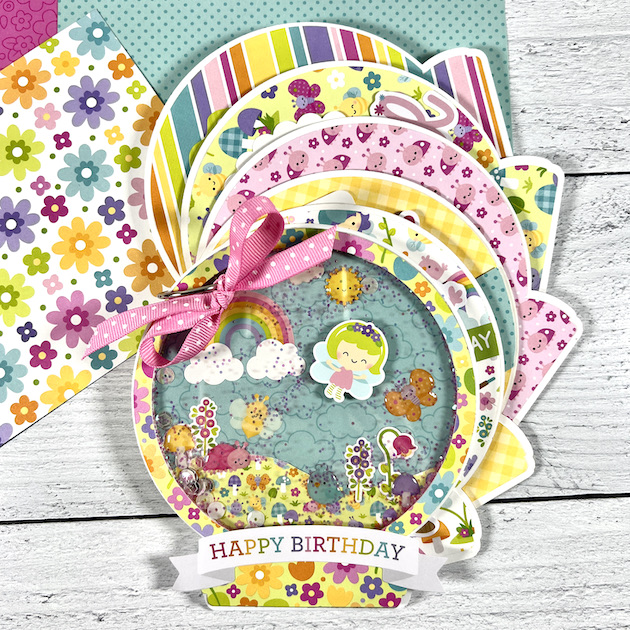
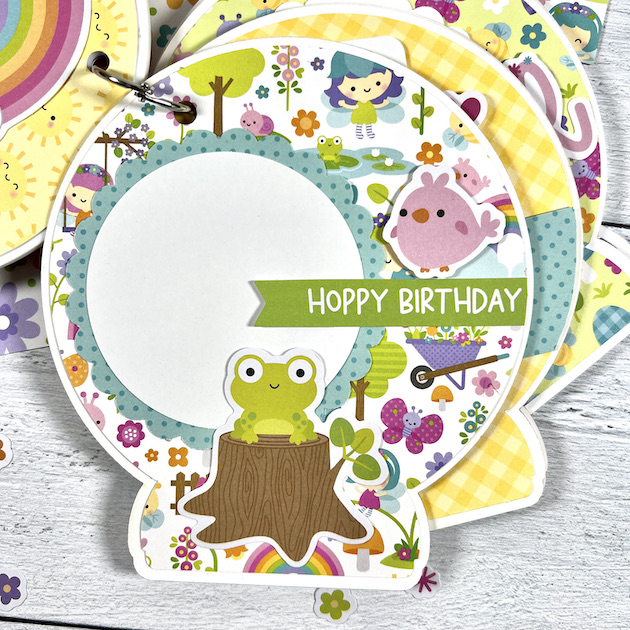
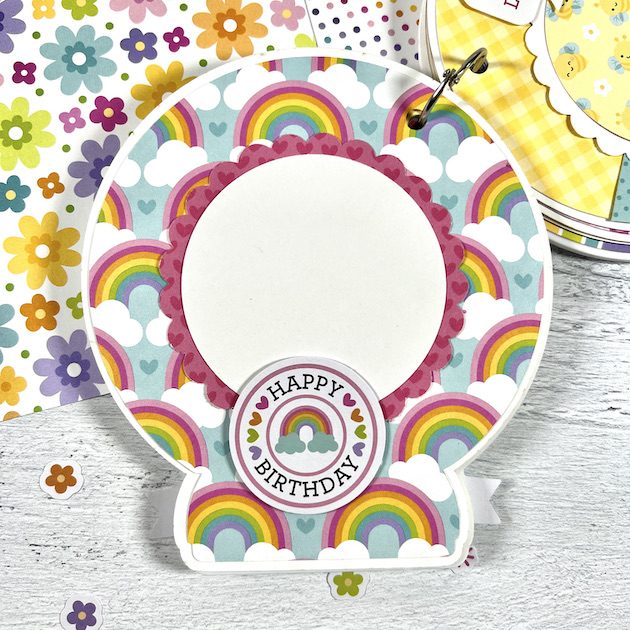
Hello sweet friends! Today, I have a new project idea that is soooo cute!! It uses my acrylic snow globe album but ... there's no snow! I made this mini into a fairy themed birthday scrapbook. And for a little extra sparkle, I turned the snow globe's cover into a shaker filled with glitter and sequins! Ha! How cute is that??
In December, I made a Christmas album with this snow globe shape. I had so much fun with it so I wanted to create another one with a different theme, season and the shaker element. I've added a tutorial on how to do this below.
I chose the Doodlebug
Fairy Garden collection and filled the pages with pretty colors, cute
fairies and bugs and birthday wishes!
I used a mix of 12x12 and 6x6 pattern papers on each page. I love those happy little sunshine faces!
Then I added lots of
colorful embellishments from the Odds & Ends, Chit Chat, Mini Icon
Stickers, This and That stickers, and my favorites ... those little
enamel shape
sprinkles. (Product links below.)
To create the photo mats, I punched a 3.5" scalloped circle and a 3" circle out of patterned or white paper and added space for 8 photos in the album.
Wouldn't this be a great birthday gift for your mom, grandmother, daughter, sister, or friend? Fill it with pics of the littles, grandlittles, the besties or ... photos from a birthday party, luncheon, or girls night out!
The Acrylic Snow Globe Shaped Album is in my shop. It's approximately 5.25" x 6" and is made from high quality white acrylic. The album comes with 2 covers, 1 frame, 4 white card stock pages, 3 templates for cutting patterned paper (pages, snow, and base), and 1 binding ring.
Shaker Cover Tutorial:
Here's how to turn the cover of the Acrylic Snow Globe Album into a shaker ...
You’ll need a piece of acetate (I like Graphix Plastic 12x12 sheets), a marker and a pencil for tracing the shape, and glitter or sequins to fill the shaker.
First, use a marker to trace the acrylic frame shape onto the acetate and cut it out with scissors.
Then use the base cover as a template to mark the binding hole. Using a 1/4" hole punch, cut the hole into the acetate. Be sure to do this separately from the acrylic. If you try to punch the hole through the acetate AND the acrylic together, it could crack the acrylic. Adhere the acetate to the top of the frame.
Next use a
pencil to trace the frame shape out of pattern paper and layer that over the acetate.
Add pattern paper and embellishments to the solid acrylic cover. Then sprinkle glitter or sequins on top and add the frame. Use a strong tape runner adhesive (I like Scotch ATG tape glider) to adhere the frame to the top of the solid cover.
Then ... have fun embellishing the rest of the album.
Below, I've added product links to make shopping super easy. Thanks for stopping by and I you enjoy this one!


.png)


Totally adorable!
ReplyDelete