Hey everyone, I’m so excited to be sharing a fun and easy Father’s Day Gift Card Holder project over on the We R Memory Keeper's blog. I created an awesome tag titled "Amazing Dad" that's perfect for a restaurant, home improvement or store gift card. It turned out soooo cute ... I figured I had to share the quick tutorial!
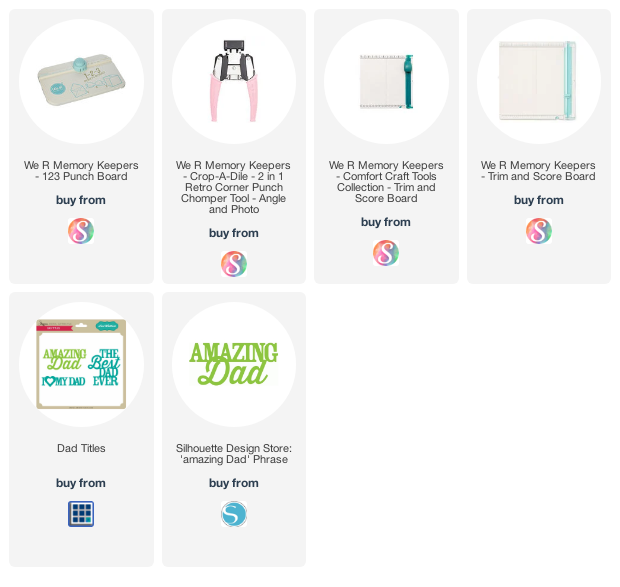
To create the tag, I used the new 123 Punch Board, an angle Corner Chomper, and the trim and score board (links below).
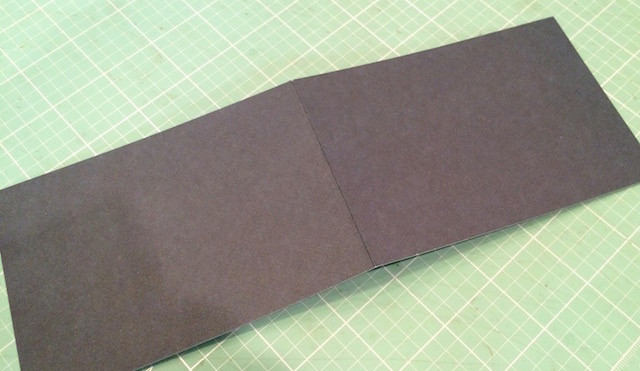
To start, I cut the pocket portion of my tag from navy card stock 3 1/2” x 10”, and scored the piece at 5”.
With
the piece folded in half on the score line, I used the “angle” side of the pink
Corner Chomper to create tag corners.
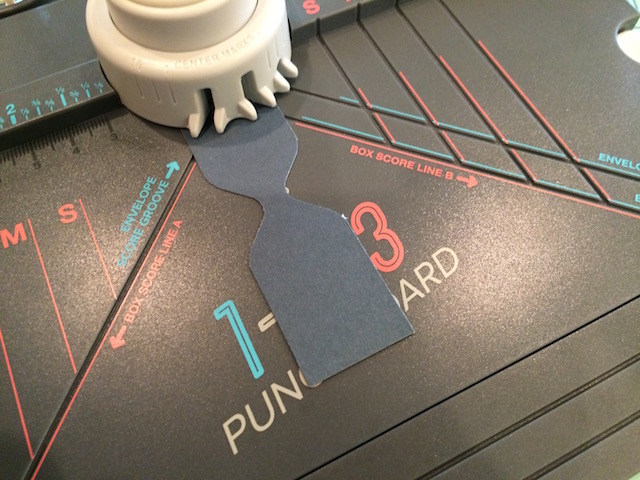
Next, I created a notch on one short
side of the card stock for my “shirt collar” by using the center marks on the
123 Punch Board. Then I adhered the piece together on the long sides to
create a pocket, and punched a small round hole in the back to hold my jute
cord.
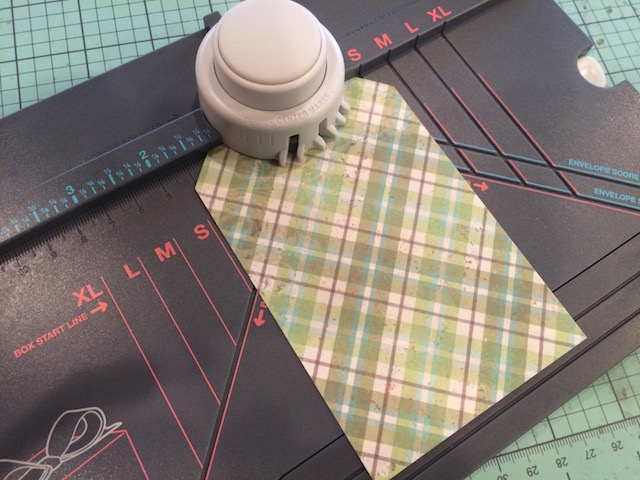
I cut a piece of plaid paper (from
the We R Memory Keepers Storytime collection) to create my shirt. 3 1/4” x 4 3/4”. I
followed the same steps to create the tag corners and “shirt collar” notch.
I adhered the plaid paper to the front of the navy background tag. To create the bow tie, I followed the directions for the XS bow on the 123 Punch Board.
Finally, I added the bow tie to
the front of the “shirt” and then added a few buttons and a cutting file for the title called "Dad Titles" or "Amazing Dad" (links below).
Thanks for letting me share this tag
for Dad with you today! Below are some of the product links I used to make this project and ... a few suggestions! Happy scrappin'!
Supplies: Affiliate links are used in this
post at no additional cost to you. (loriwhitlock.com & sihouettedesignstore.com are not affiliates.) I receive a small amount of compensation
when you click through and shop using the provided links. This helps me to
continue building my small business. Thank you! 


No comments:
Post a Comment