Friday, May 29, 2015

You Rock Denim Album & Be Awesome Layout Kits

Hey guys! Today, I have two slightly more masculine themed scrapbooking kits to share with you. The first one is a unique mini album called You Totally Rock.  It makes a wonderful keepsake for photos of your favorite guy, son, grandson, father, brother or friend. This one is all about the boys and the paper collection has embellishment options for dad or son. So, you can choose how to decorate it! 

 
This 6x10 inch scrapbook album includes 14 cardstock pages (7 double-sided) that include 1 fold-out page and 1 pocket page for extra photo or journaling space. This unique album is perfect for any guy. The denim fabric is sewn around heavy chipboard covers and bound in the center with metal rings. Love this one!
 

The cover has blue, red, and green colors with a great chipboard title and metal brads. A perfect Father's Day gift, a keepsake for your son, an album to save brother memories in ... so many possibilities!
 

I designed this with the Echo Park, Jack and Jill Boy Collection. The pages include photo mats, journaling and title cards, and space for at least 15 photo.

The album is also a great size for a brag book for mom, dad, or grandparents. Fill it with photos of your son or grandson and display it on a shelf or coffee table! 


Next, my 12x12 Be Awesome Layouts ...

To purchase the instructions for these layouts visit:


These were also designed with the Echo Park, Jack & Jill Boy Collection. There are 6 pages (3 double-page layouts) that have space for 20 pictures. They're perfect for saving photos of all the special guys in your life. 


Add pictures of everyday moments, a celebration, birthday, sports, hobbies, graduation, or Father's Day.


These pages make a wonderful addition to any album. The kit comes with pre-cut materials and themed stickers so that you can personalize your pages for a Dad, your son, etc.


Thanks for visiting the blog today! Next, hop over to my shop to see these fun projects and the newest kits, premades, instructions, and supplies!

Update: This kit has sold out but the instructions are available in my shop. They are simple, step-by-step, and include full color photos of each page. Links for the instructions and the products used are below. Happy scrappin'!

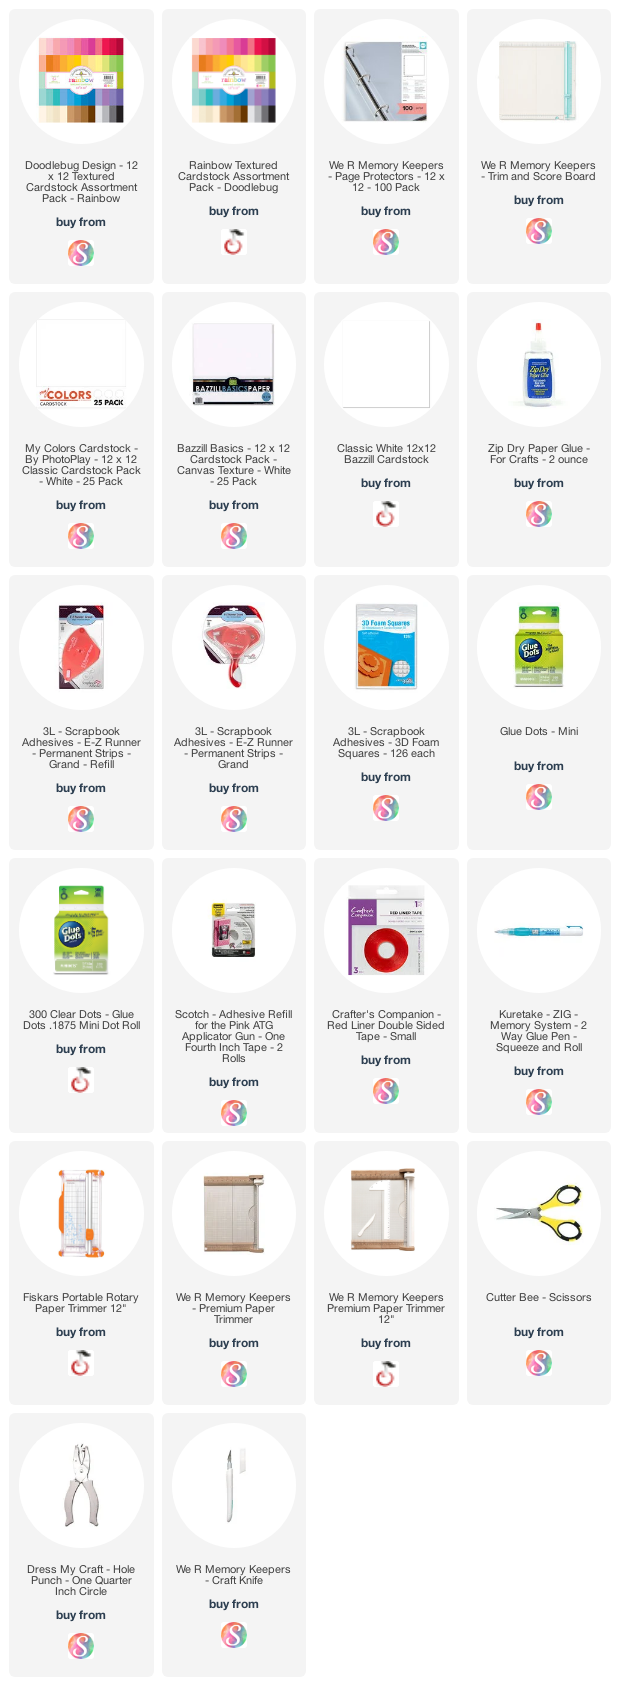
Supplies: As an Amazon Associate, I earn from qualifying purchases.  Affiliate links are used in this post at no additional cost to you. I receive a small amount of compensation when you click through and shop using the provided links. This helps me to continue building my small business. Thank you!

Thursday, May 28, 2015

3D Gazebo Tutorial with Lori Whitlock Designs

Today's Project:  3D Gazebo by Lori Whitlock 
Created for:  Lori Whitlock Designs

I have a full tutorial posted over on Lori's blog today with step-by-step instructions for assembling her beautiful 3D gazebo.  Visit her site for all the details!


Wednesday, May 27, 2015

Tutorial - Adding Photo Cards to Your Layouts

Hey everyone! Today, I’m sharing a layout & tutorial that I made for the We R Memory Keepers blog. It's a great tip for adding lots of photos to a 12x12 page. I love to add cards that flip-up or fold-out to reveal additional photos. I use this technique in my mini album kits and scrapbook pages all the time. Take a look ...  


First, I create my 12x12 base page. For this layout, I used the Denim Blues paper by We R Memory Keepers. Once I had the base and overall design, I looked at the photos to consider size. Could several photos be cropped to 3x4? 4x4? Or, another size? 

The key to adding lots of photos is a flip-card that will hold three photos … one on the front, and two inside the card.
 

For my first card, the photo is 4x4. The We R Memory Instagram overlay frame is 4x4, so I chose to make my flip-up card 4.25” x 4.25”. My base card stock needs to be 4.25” x 8.5”, with a score line at 4.25”.
 

For this layout, I have two 4.25 x 4.25” cards and one 4.25 x 6.25” card. In order for me to be able to open the cards from the outside of my plastic page protector, I used a craft knife to create a slit in the plastic. I slid the page into my We R Memory Keepers Page protector and laid the photo cards down on top of the plastic.  Then I gently cut slits in the plastic along each of the card’s fold lines.  
 

I added adhesive to the back of each card and slipped the backs through the slits so that the card now opens from outside of the page protector.


Thanks for letting me share this fun way to get lots of photos on a page!  Here are some links to the supplies I used.
 
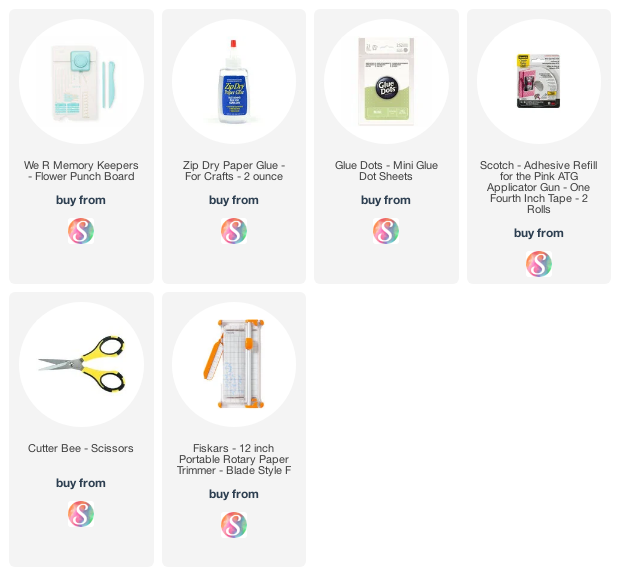
Supplies: Affiliate links are used in this post at no additional cost to you. I receive a small amount of compensation when you click through and shop using the provided links. This helps me to continue building my small business. Thank you!


Blog * Facebook * Instagram * Pinterest

Wednesday, May 20, 2015

12x12 Happy Moments Layout

Hello everyone! It's my turn over on the We R Memory Keepers blog today and I'm sharing a sweet layout of my niece and her Papa and Meme. This 12x12 page features the beautiful We R's, Inked Rose collection and one of their awesome punch boards. Can you guess which one?  

Yep ... it's the Flower punch board! I wanted lots of dimension on this layout, so I used the petal curler that’s included in the board to bend my petals. I layered the 3” and 4” sizes and then added a yellow brad to the center.
 

I left the flower in the upper left corner flat and added a brad to the center of this one too.  So whether you want a more dimensional look, or a flat embellishment, the Flower Punch Board can help you make fabulous flowers to spruce up your scrapbook pages!

I’d love to see how you're using this technique on your page layouts. Share your pictures with me on social media. Thanks for stopping by today!
 
Supplies: Affiliate links are used in this post at no additional cost to you. I receive a small amount of compensation when you click through and shop using the provided links. This helps me to continue building my small business. Thank you!


Blog * Facebook * Instagram * Pinterest

Thursday, May 14, 2015

Doodlebug Doilies For a Baby Shower

Hi everyone!  It's my turn over on the Doodlebug blog today.  The Design team was asked to create some fun projects using Doodlebug's wonderful doilies.  Have you seen the new smaller size??  So cute! and one of the great things about these doilies is that you get a lot of them in the package.  This makes them perfect for incorporating into party favors, invitations and party decor.


These adorable little lambs and treat boxes were cut with my CAMEO machine using files designed by Lori Whitlock.


Doodlebug sprinkles were added for the lambs cheeks, and also for their little feet on the treat boxes!  The feet are little triangles that come with the beetle black arrow sprinkles.

Here is a list of the other fabulous Doodlebug goodies I used on this project:
Lily White Doilies, Regular and Mini
Lovebugs double-sided cardstock
Sweet Things double sided cardstock
Black and white textured cardstock
Sprinkles
Doodles cardstock stickers
Cupcake Doodle Twine
Cupcake Boutique Button

Thanks so much for letting me share my little lambs with you!  Come visit me over on my Facebook page and Instagram to stay up-to-date on sales, new kits, giveaways and more!

Wednesday, May 13, 2015

Doodlebug Back To School Scrapbook Album Kit

We've added a brand new kit to the shop, perfect for all of your school memories ... Preschool-Senior year!   Like all of our kits, this one can be ordered completely finished and ready for photos, or as a do-it-yourself kit.  Full color, step-by-step instructions are always included.

The album starts with a preschool page and goes all the way to senior year! It has 30 pages (15 double-sided) that include:
2 pockets for memorabilia
14 6x8 scrapbook pages, each dedicated to a year of school (preschool-12)
7 double-sided divided photo sleeves for extra photos

Fun primary colors, titles and phrases, and lots of embellishments -- these are just a few of the things that adorn the pages of this fun school memory album. The album has a red linen spine (by Simple Stories) and is covered with adorable paper and accents from Doodlebug Design. The pages include photo mats, stickers, and grade labels.


Pre-made:
If you order the album pre-made, it will be shipped completely assembled and ready for photos or gift-giving. 

Order your School Years kit in my shop here:  www.artsyalbums.shop

Facebook:  www.facebook.com/artsyalbums
Instagram: @artsyalbums

Tuesday, May 12, 2015

May Blog Hop with Lori Whitlock Designs

Hi everyone!  Welcome to Lori Whitlock's Creative Team May blog hop!  


If you just hopped on at my blog, be sure to head back over to Lori's site and start from the beginning!  The Creative Team has lots of fun projects to share so you won't want to miss any of them!

For my project, I'm sharing a few of Lori's folded box cards.  These are always so much fun to make and there are so many styles you could create one for every occasion!


Be sure to check out these other goodies that Lori has for you today!


Thanks for stopping by my blog along your hop.  Please visit me on Facebook to stay up-to-date on Artsy Albums sales, giveaways, and new kits !

Now back to the hop!  Your next stop is:  Kathy Skou